State Management Patterns for Editor Components in React-Based LMS Platforms

If you’re building a Learning Management System (LMS) in React, you’ve probably faced this annoying issue: you add a WYSIWYG editor, and suddenly it turns slow. You type, and suddenly the cursor jumps around or the editor re-renders for no reason.
And honestly, the issue isn’t the editor itself; it’s usually the way we handle its state.
WYSIWYG editors like Froala, TinyMCE, and Draft.js are great for creating content, but they come with their own internal state. When we try to sync that state with React (using Redux, Context, or even normal component state), things can get messy really fast.
This post covers simple, beginner-friendly patterns to integrate WYSIWYG editors into a React-based LMS without performance issues.
Key Takeaways
Initialise the editor only when needed so it doesn’t re-render too much.
Use refs instead of controlled components to keep typing smooth.
Debounce state updates to prevent performance degradation during typing.
Load the editor after a user action (like clicking a button) instead of loading it immediately.
Keep the editor’s content separate from other fast-changing app state to avoid slowdowns.
Understanding the Problem
Before we jump into solutions, let’s first understand why WYSIWYG editors can be tricky in React.
React works best with controlled components, where it manages the state and updates it on every change. But WYSIWYG editors don’t really work that way. They manage a lot of internal stuff on their own: cursor position, text selection, formatting, undo history, and more.
So when we try to make them fully controlled in React, every single keystroke triggers a React state update. That update causes a re-render, which then interferes with the editor’s internal state.
And the result? Laggy typing, the cursor jumping around, and a very frustrated user experience.
Now that we know what causes the lag, let’s look at how to set up a WYSIWYG editor properly before applying the patterns.
Getting Started with a WYSIWYG Editor in React
Before implementing the patterns below, you’ll need to install and set up the editor in your React project.
Installation
First, install the editor package in your React project:
npm install react-froala-wysiwyg --save
Basic Setup
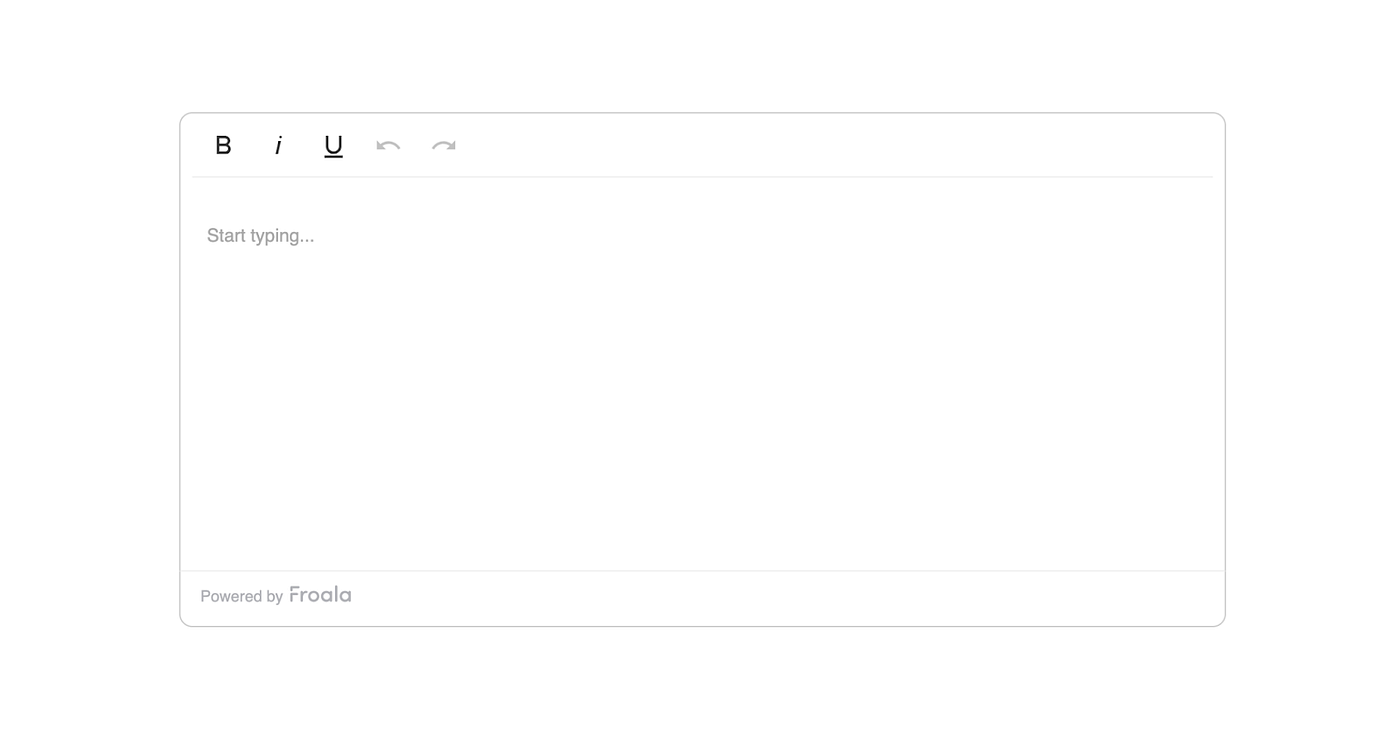
Now add the following code to src/components/SimpleEditor.jsx to set up a simple editor in your React project:
// Import Editor styles and scripts
import "froala-editor/css/froala_style.min.css";
import "froala-editor/css/froala_editor.pkgd.min.css";
import FroalaEditorComponent from "react-froala-wysiwyg";

const SimpleEditor = () => {
  return (
    <FroalaEditorComponent
      tag="textarea"
      config={{
        placeholderText: "Start typing...",
        toolbarButtons: ["bold", "italic", "underline", "undo", "redo"],
        height: 300,
        width: 800,
        events: {
          contentChanged: function () {
            console.log("Content updated!");
          },
          initialized: function () {
            console.log("Editor is ready!");
          },
        },
      }}
    />
  );
};

export default SimpleEditor;
What these options mean:
tag: The HTML element the editor is built on (textarea or div).
placeholderText: What shows when the editor is empty.
toolbarButtons: Choose which toolbar buttons to show.
height: Sets the editor’s height.
width: Sets the editor’s width.
events: Lets you listen to things like contentChanged or initialized so you can react to editor actions.
Now, import and use it in your App.jsx file:
import SimpleEditor from './components/SimpleEditor';

function App() {
return <SimpleEditor />;
}
Here’s what it will look like:
Now that you have the editor set up, let’s look at different patterns to manage its state without hurting performance.
Pattern 1: Using Refs with Uncontrolled Editors (Simplest Approach)
The easiest way to work with a WYSIWYG editor in React is to treat it as an uncontrolled component.
Instead of syncing every keystroke with React, you just use a ref to access the content whenever you need it.
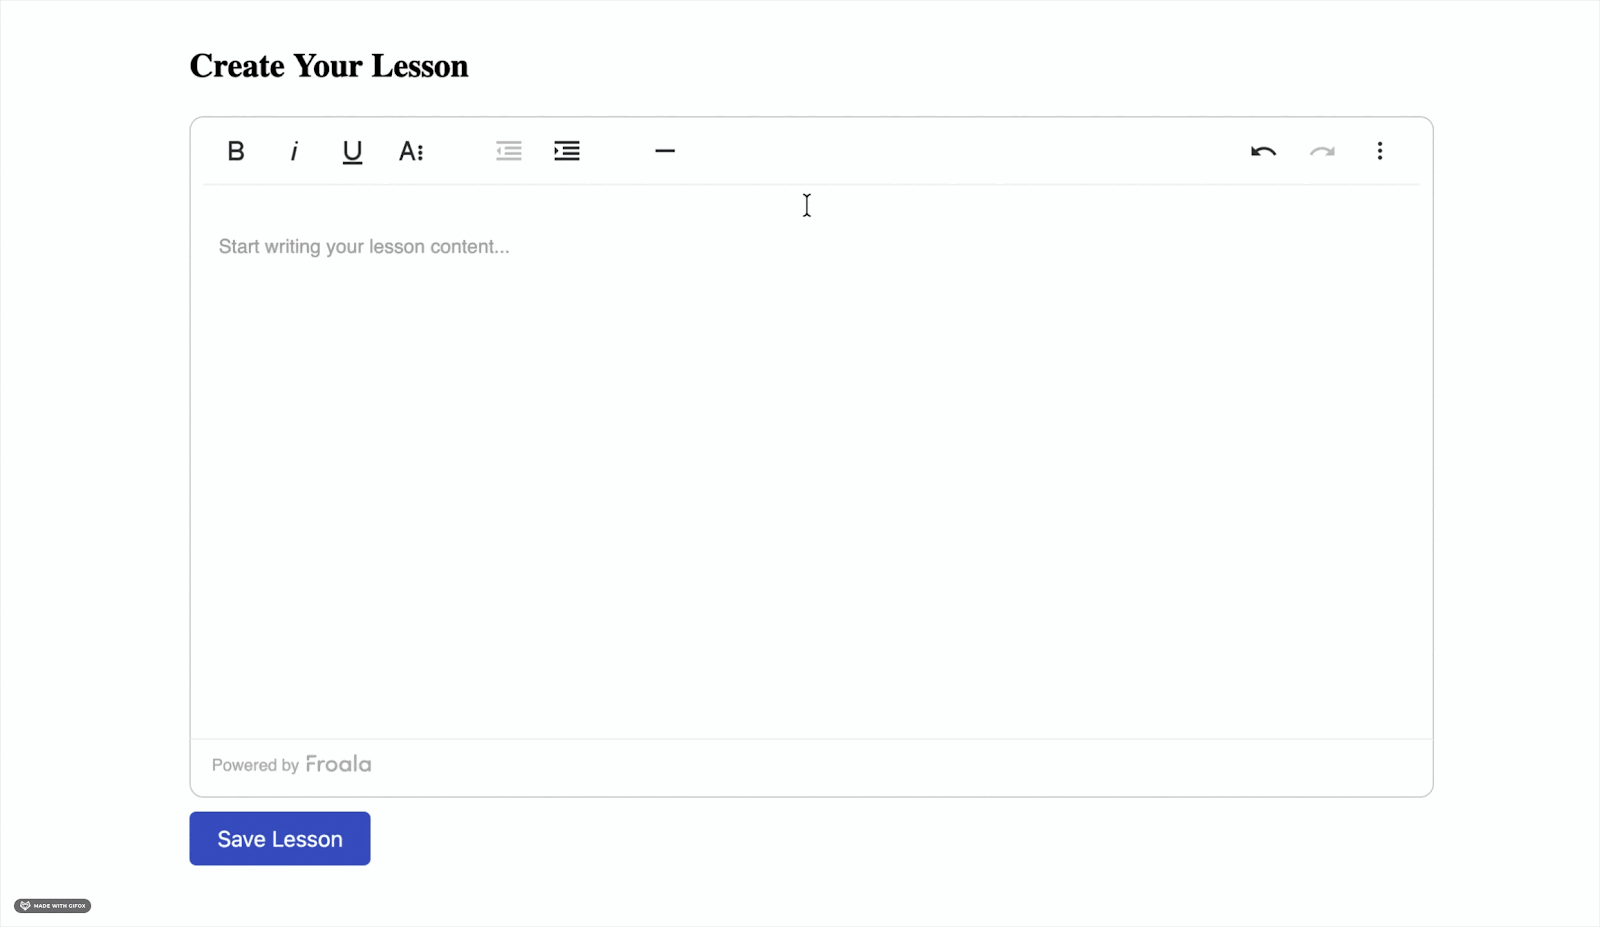
Create a new file src/components/LessonEditor.jsx and add the following code inside it:
import React, { useRef, useState } from "react";
import FroalaEditorComponent from "react-froala-wysiwyg";

function LessonEditor() {
  const editorRef = useRef(null);
  const [isSaving, setIsSaving] = useState(false);

  const handleSave = async () => {
    // Get content only when needed
    const content = editorRef.current?.editor?.html?.get();
    setIsSaving(true);
    try {
      await saveToDatabase(content);
      alert("Lesson saved successfully!");
    } catch (error) {
      alert("Error saving lesson");
    }
    setIsSaving(false);
  };

  return (
    <div>
      <h2>Create Your Lesson</h2>
      <FroalaEditorComponent
        ref={editorRef}
        tag="textarea"
        config={{
          placeholderText: "Start writing your lesson content...",
          height: 400,
          width: 900,
        }}
      />
      <button
        onClick={handleSave}
        disabled={isSaving}
        style={{
          marginTop: "10px",
          padding: "10px 20px",
          fontSize: "16px",
          cursor: "pointer",
          backgroundColor: "#3c55c4ff",
          color: "white",
          border: "none",
          borderRadius: "5px",
        }}
      >
        {isSaving ? "Saving..." : "Save Lesson"}
      </button>
    </div>
  );
}

export default LessonEditor;
What this code does:
useRef creates a reference to the editor so you can read its content whenever you want.
React does not try to manage the editor’s internal state; the editor handles everything itself.
When the user clicks Save, we grab the content using the ref and send it to the database.
While saving, the button shows Saving… so the user knows something is happening.
This approach keeps typing smooth and removes the lag caused by constant re-renders.
Now import it wherever you want to show the editor:
import LessonEditor from './components/LessonEditor';

function App() {
  return <LessonEditor />;
}
Why this works: The editor keeps its own internal state, including cursor position, formatting, and undo history. Since React isn’t watching every keystroke, nothing slows down. You only read the content when needed (like saving), which keeps your LMS fast and smooth.
This pattern works perfectly when you have a single editor. But what if your LMS page has multiple editors, like quizzes or modules? That’s where Pattern 2 comes in.
Pattern 2: Lazy Initialisation with onClick
When you’re building LMS features, you might have multiple editors on the same page, like quiz questions, explanations, hints, etc.
Loading all editors at once can slow everything down.
A simple fix is to initialise the editor only when the user clicks on it.
This keeps your page fast and avoids unnecessary memory usage.
Create a new file src/components/QuizQuestionEditor.jsx and add the following code inside it:
import React, { useState, useRef } from "react";
import FroalaEditor from "react-froala-wysiwyg";

function QuizQuestionEditor() {
  const [editorActive, setEditorActive] = useState(false);
  const editorRef = useRef(null);
  const [initialContent] = useState("");

  const activateEditor = () => {
    setEditorActive(true);
  };

  const handleSubmit = () => {
    if (editorRef.current) {
      const content = editorRef.current.editor.html.get();
      console.log("Question content:", content);
      // Submit to your backend
    }
  };

  return (
    <div>
      <h2>Quiz Question</h2>
      {!editorActive ? (
        <div
          onClick={activateEditor}
          style={{
            border: "1px solid #ccc",
            padding: "20px",
            borderRadius: "4px",
            cursor: "pointer",
            backgroundColor: "#f9f9f9",
          }}
        >
          Click to start writing your question...
        </div>
      ) : (
        <FroalaEditor
          ref={editorRef}
          tag="textarea"
          model={initialContent}
          config={{
            placeholderText: "Enter your quiz question here...",
            height: 400,
            width: 900,
          }}
        />
      )}
      <button
        onClick={handleSubmit}
        style={{
          marginTop: "10px",
          padding: "10px 20px",
          fontSize: "16px",
          cursor: "pointer",
          backgroundColor: "#3c55c4ff",
          color: "white",
          border: "none",
          borderRadius: "5px",
        }}
      >
        Submit Question
      </button>
    </div>
  );
}

export default QuizQuestionEditor;
What this code does:
The editor doesn’t load immediately. Instead, you show a placeholder box: “Click to start writing your question…”
When the user clicks, editorActive becomes true, and the editor finally loads.
The editor’s content is accessed using a ref whenever you submit the question.
This avoids loading multiple heavy editors at once and is great for quiz creation pages.
Now import it wherever you want to show the editor:
import QuizQuestionEditor from './components/QuizQuestionEditor';

function App() {
return <QuizQuestionEditor />;
}
Benefits of this approach:
Faster initial page load.
Reduced memory usage (because editors load only when needed).
Better user experience when working with forms that contain multiple editors.
Lazy loading helps when you have many editors, but what if you also need autosave? That’s where Pattern 3 comes in.
Pattern 3: Debounced Updates with Context API
Sometimes you do need the editor’s content inside your app state, like when you want autosave.
But updating the state on every keystroke will slow things down immediately.
A simple fix is to use debouncing: wait a short time after the user stops typing before updating the state.
Create a new file src/components/AutoSaveEditor.jsx and add the following code inside it:
import React, { useState, useRef } from "react";
import FroalaEditor from "react-froala-wysiwyg";

function QuizQuestionEditor() {
  const [editorActive, setEditorActive] = useState(false);
  const editorRef = useRef(null);
  const [initialContent] = useState("");

  const activateEditor = () => {
    setEditorActive(true);
  };

  const handleSubmit = () => {
    if (editorRef.current) {
      const content = editorRef.current.editor.html.get();
      console.log("Question content:", content);
      // Submit to your backend
    }
  };

  return (
    <div>
      <h2>Quiz Question</h2>
      {!editorActive ? (
        <div
          onClick={activateEditor}
          style={{
            border: "1px solid #ccc",
            padding: "20px",
            borderRadius: "4px",
            cursor: "pointer",
            backgroundColor: "#f9f9f9",
          }}
        >
          Click to start writing your question...
        </div>
      ) : (
        <FroalaEditor
          ref={editorRef}
          tag="textarea"
          model={initialContent}
          config={{
            placeholderText: "Enter your quiz question here...",
            height: 400,
            width: 900,
          }}
        />
      )}
      <button
        onClick={handleSubmit}
        style={{
          marginTop: "10px",
          padding: "10px 20px",
          fontSize: "16px",
          cursor: "pointer",
          backgroundColor: "#3c55c4ff",
          color: "white",
          border: "none",
          borderRadius: "5px",
        }}
      >
        Submit Question
      </button>
    </div>
  );
}

export default QuizQuestionEditor;
What this code does:
The editor fires a contentChanged event every time the user types.
But instead of updating the state instantly, we debounce it using setTimeout.
If the user keeps typing, the timer resets.
When they stop typing for 2 seconds, then:
The content is saved into global state (LessonContext)
The autosave request is sent to the backend
A small message shows when the lesson was last saved.
Now, wrap your app in the LessonProvider:
import { LessonProvider, AutoSaveEditor } from './components/AutoSaveEditor';

function App() {
  return (
    <LessonProvider>
      <AutoSaveEditor />
    </LessonProvider>
  );
}
Key points:
We debounce editor changes to avoid constant state updates.
Autosave feels fast but never slows down typing.
Using Context lets other components read the lesson content too.
Perfect for LMS dashboards with autosave, drafts, and live editing.
No matter which pattern you use, a few best practices can save you from unexpected performance issues.
Best Practices
Here are a few simple guidelines to keep your WYSIWYG editors fast, clean, and easy to manage in React, especially when you’re building LMS features.
Initialise on demand: Don’t load the editor until the user actually needs it. This really helps when you have multiple editors on a single page.
Use refs for content access: Instead of making the editor fully controlled, use refs to access the content only when you need it.
Add debouncing for state updates: If you’re syncing editor content with state (like autosave), debounce it by 1–2 seconds so you’re not updating constantly.
Keep editor state separate: Avoid mixing editor HTML with other UI state. Keep it separate from things like loading flags, filters, or user preferences.
Clean up when the component unmounts: Always clear timers, intervals, or event listeners to avoid memory leaks.
And of course, there are a few easy mistakes that can undo all this good work. So now look at what to avoid.
Common Pitfalls
These are the mistakes that usually cause WYSIWYG editors to lag, re-render too much, or behave unpredictably in React. Avoiding them will make your editor setup much smoother.
Making the editor fully controlled: Avoid using a value prop that updates on every change. This forces React to re-render constantly, causing cursor jumps and laggy typing.
Storing HTML in a frequently updated state: Don’t mix editor content with state that updates often (like loading flags, validation, or UI filters). It leads to unnecessary re-renders.
Not debouncing autosave: Saving to the backend on every character typed will crush your server and slow down the editor.
Initialising too early: Loading all editors as soon as the page mounts wastes memory. Use lazy initialisation so the editor loads only when needed.
Forgetting to clean up: Forgetting to clear timeouts, intervals, or listeners can cause memory leaks, especially in single-page applications like React apps.
Conclusion
Managing WYSIWYG editors in React doesn’t have to be difficult. The main thing to remember is that these editors already handle a lot of their own internal state. When we try to control every update through React, things slow down, and typing becomes laggy.
By keeping the editor uncontrolled, using refs to read content, debouncing updates, and loading the editor only when needed, you can build fast, smooth LMS features without the usual headaches.
Start with the simplest pattern that fits your use case. You can always add more advanced logic later as your app grows. Just keep in mind: you don’t need to over-optimise too early, but planning for performance from the beginning simply helps you avoid issues later.
Resources for Further Reading
This article was published on the Froala blog.


